
Getting Started with Ledger: A Complete Guide to Ledger.com/start
In the world of cryptocurrency, security is paramount. Whether you're a beginner investor or an experienced trader, safeguarding your digital assets should be your top priority. That's where Ledger, a leading provider of hardware wallets, comes into play. If you’ve recently purchased a Ledger device or are planning to get one, the starting point for setting up and securing your assets is Ledger.com/start.
In this blog, we’ll walk you through everything you need to know about Ledger.com/start—from what it is, why it matters, to how you can use it to secure your crypto investments.
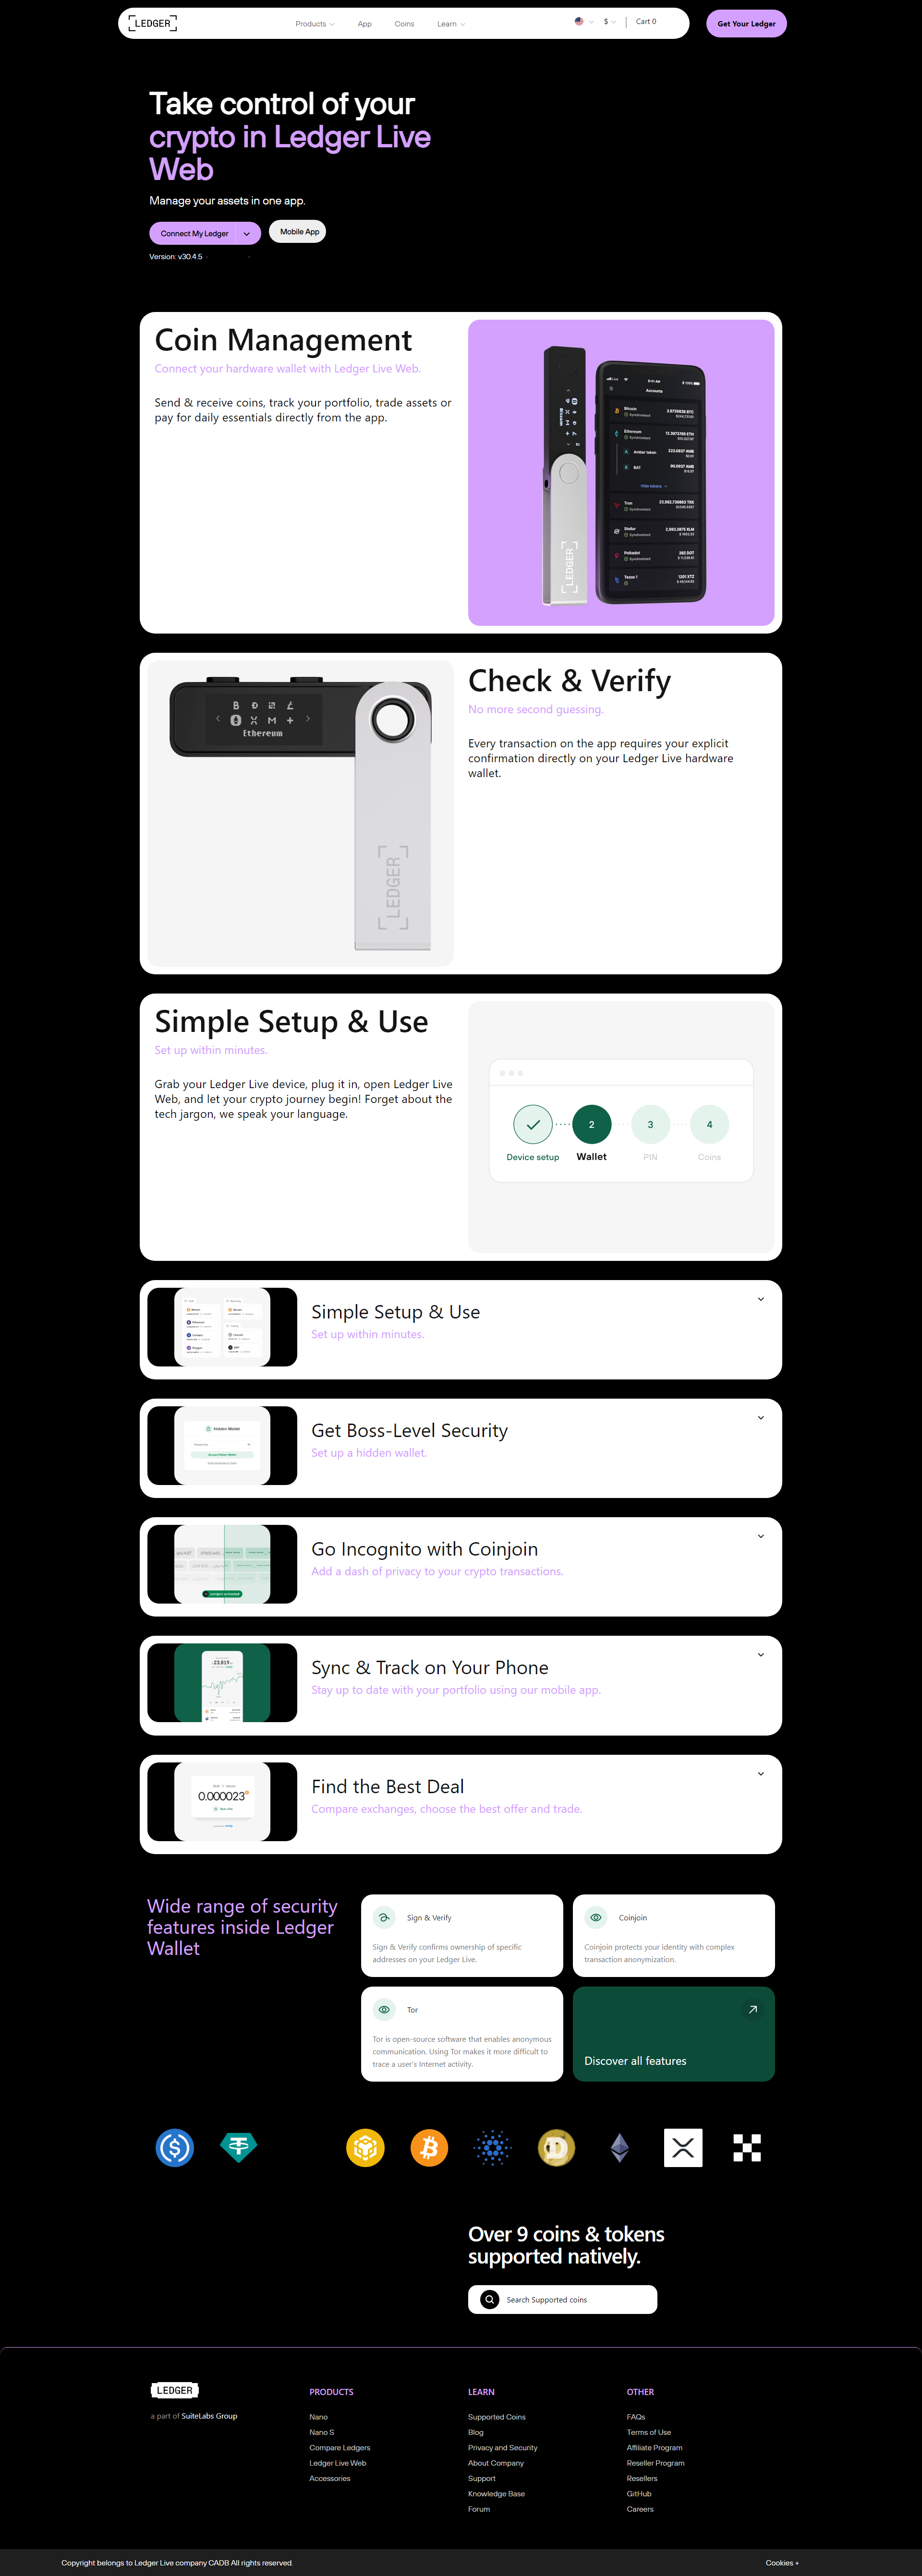
Ledger.com/start is the official onboarding page for users of Ledger hardware wallets, specifically Ledger Nano S Plus, Ledger Nano X, and Ledger Stax. It’s the go-to destination for setting up your new device, downloading the necessary software, and learning how to use it securely.
This portal ensures you’re taking the right steps with genuine instructions, reducing the risk of falling for phishing scams or using unofficial tools that may compromise your wallet.
1. Security
Cryptocurrencies are stored in digital wallets, but if your private keys are exposed, your assets can be stolen. Ledger hardware wallets offer cold storage—keeping your private keys offline and out of hackers’ reach. Starting at Ledger.com/start ensures you set up your wallet properly and securely.
2. Verified Software Installation
The setup process includes downloading Ledger Live, Ledger’s official companion app. By downloading it from the official site, you avoid malicious clones or outdated versions that may have vulnerabilities.
3. Step-by-Step Setup
Ledger.com/start offers an intuitive, step-by-step setup guide tailored to your specific device. Whether you're using a Nano S Plus or Nano X, you’ll be guided through:
Initializing your device
Creating a PIN code
Writing down your 24-word recovery phrase
Installing apps and adding crypto accounts
This simple yet thorough onboarding helps even non-tech-savvy users get started confidently.
Here’s a quick overview of what to expect when setting up your wallet:
Step 1: Visit Ledger.com/start
Go to the official website using a secure browser. Select your Ledger model to begin the guided setup.
Step 2: Install Ledger Live
Download and install Ledger Live for your operating system (Windows, macOS, Linux, or mobile). This app is the main interface for managing your crypto assets.
Step 3: Initialize Your Device
Connect your Ledger wallet to your computer or smartphone. Follow on-screen prompts to choose a PIN and generate your 24-word recovery phrase. Write this down and store it in a secure place—never share it with anyone.
Step 4: Verify Device Authenticity
Ledger Live will verify if your device is genuine. This step ensures that the hardware hasn’t been tampered with before reaching you.
Step 5: Install Crypto Apps
Through Ledger Live, you can install apps for various cryptocurrencies like Bitcoin, Ethereum, and more. Once installed, you can create and manage accounts for each coin.
Step 6: Add and Transfer Crypto
Now you’re ready to receive, send, and manage crypto safely. You can even stake coins or connect your wallet to Web3 apps using Ledger’s secure bridge.
Never share your recovery phrase. Ledger will never ask for it.
Buy only from Ledger.com or verified resellers. Avoid second-hand devices.
Enable password lock on Ledger Live. This adds another layer of protection.
Stay updated. Regularly update your firmware and Ledger Live app.
Ledger.com/start is more than just a setup page—it’s your gateway to securely managing your crypto portfolio. By following the instructions on this official site, you ensure your wallet is configured properly, your assets are safe, and your investment journey starts on the right foot.
In a digital landscape where security breaches are all too common, using a hardware wallet like Ledger is a smart move. And by starting at Ledger.com/start, you’re taking the first and most important step toward owning your financial future.